Managing solution pipelines
You can add a pipeline to a solution by clicking on the “Pipelines” tab of the Solution Builder (see below)
This will display any existing pipelines at the top of the Solution Builder workspace.
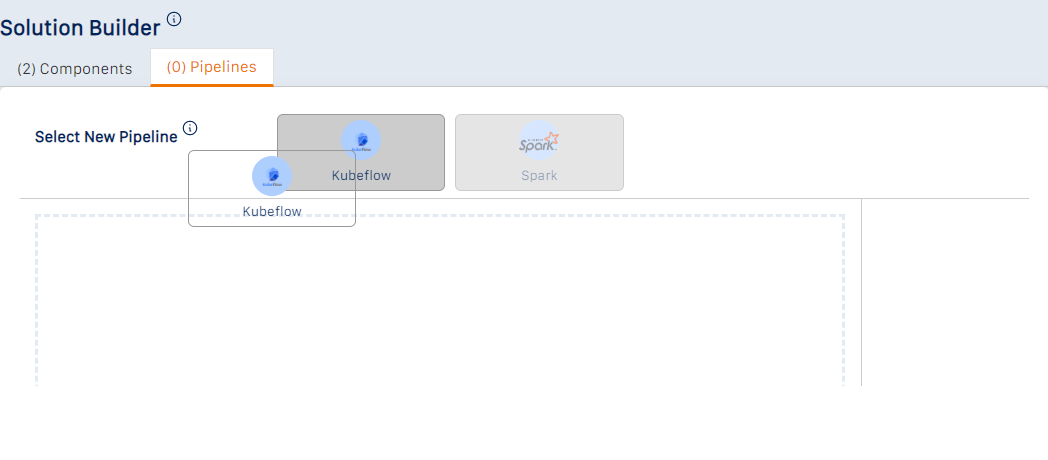
Adding pipelines
You can add a pipeline by clicking the “Create New Pipeline” link and then clicking on one of the available pipeline types on the top panel and dragging it into the Solution Builder workspace (see below for an example of adding a Kubeflow pipeline to the solution)
When you add a pipeline, a dialog box opens where you can specify the properties of the new pipeline (see below)
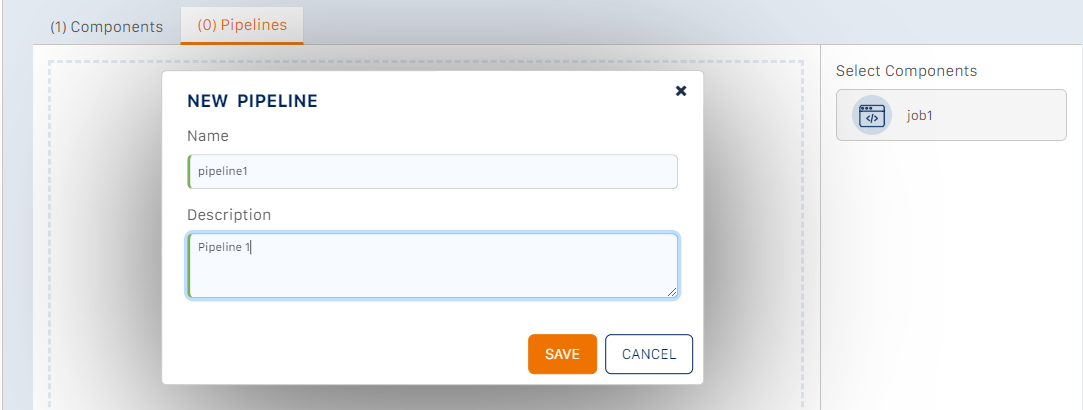
The pipeline name must satisfy the following constraints:
Must be unique within the solution
Must comprise of only:
lowercase alphanumeric([a-z],[0-9]) characters and
underscore(_)
Must start with a letter
Must contain at most 25 characters
Click the “Save” button to submit the changes to the solution. You should see the new component added to the Solution Builder workspace.
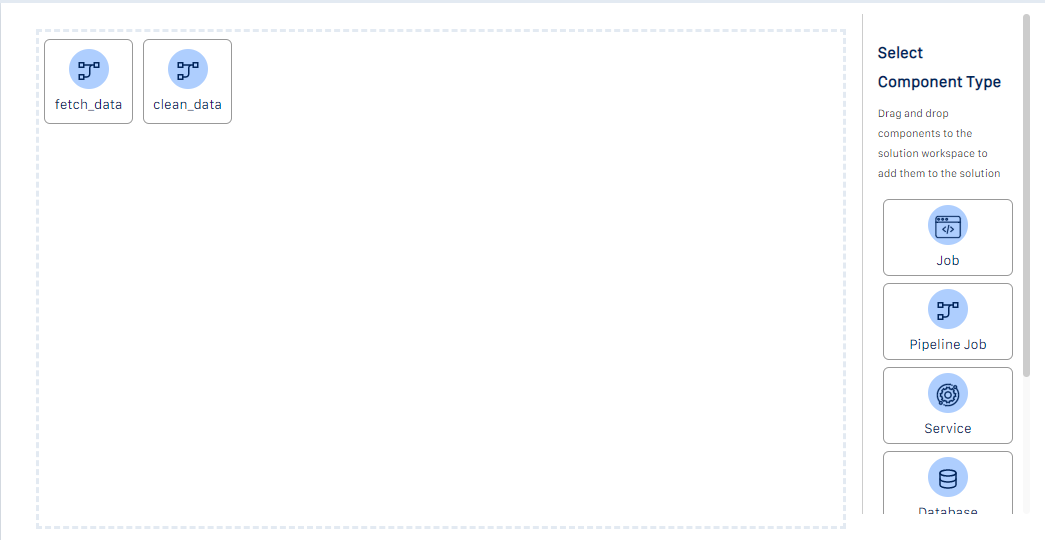
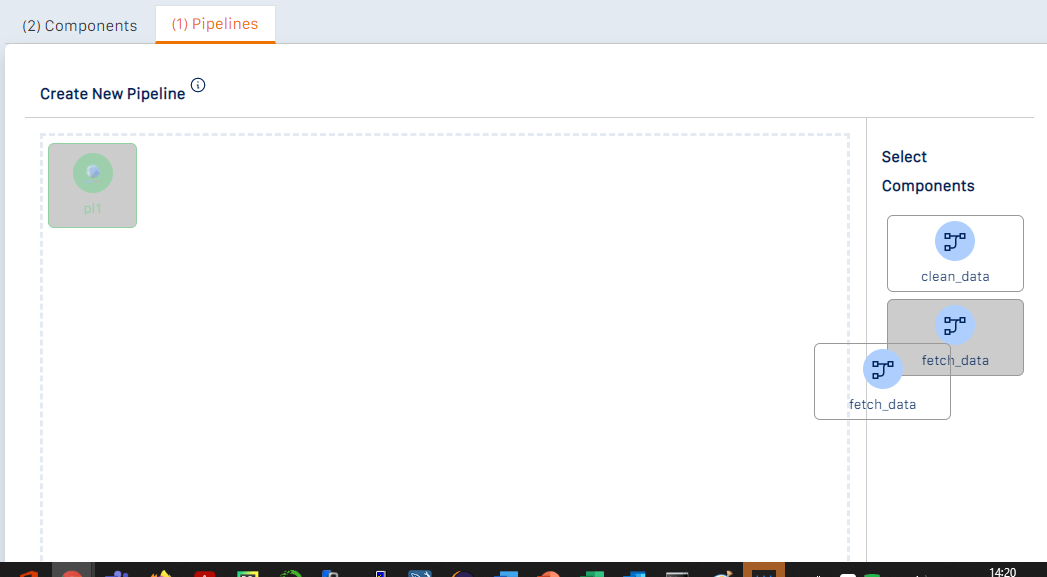
Adding components to a pipeline
To add components to a pipeline, first, select the pipeline by clicking the “Select New Pipeline” link. The appropriate components are displayed on the right-hand panel (python and Java components will be available for Kubeflow pipelines, and pyspark components for Spark pipelines). To add a component to a pipeline, drag the component from the panel, and drop it into the Solution Builder workspace (see below for an example).
You can add multiple components in this manner.
To establish the dependencies between components (i.e., the pipeline flow),
Click on a node port (one of the four + signs that appear when you hover your mouse over the component icon) on the first component
Click on a node port from the second component. This will draw an arrow in the direction of the flow (i.e., from the first component selected to the second - see below). This indicates that when the pipeline is run, the second component will be executed after the first
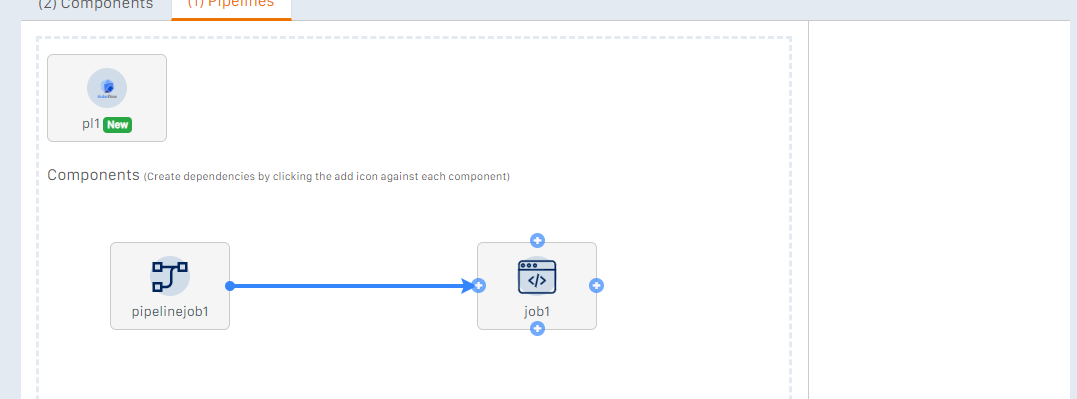
Click the “Save” button to create the pipeline.
Modifying a pipeline
To modify a pipeline, click the pipeline icon. A set of buttons are displayed (see below)

To make changes to a pipeline name or description, click the edit button. A dialog is displayed (see below)
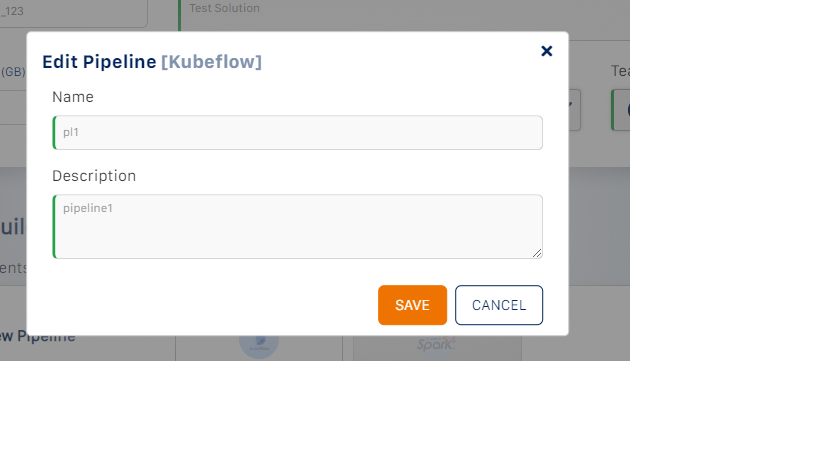
You can change the name of a pipeline only if it has not already been saved to the solution.
To make changes to the pipeline flow, click the flow button. You will be able to edit the control flow between the components in the same way that you created the pipeline.
To delete the pipeline, click the Delete icon.
Click the “Submit” button to submit the changes to the solution.
Tip
When a pipeline is created, xpresso.ai does not make any code changes for non-distributed (Kubeflow) pipelines, since these are just containers of components. However, for distributed (Spark) pipelines, xpresso.ai adds boilerplate code to the solution code repository, as well as a build pipeline in the build system.
What do you want to do next?